Create Your First User
Create Your First User
Section titled “Create Your First User”This guide walks through the first successful auth flow in a local Seamless Auth stack.
By the end, you should have:
- a created user
- a completed passwordless verification flow
- an authenticated session
- a working mental model of what happened in the stack
Before You Start
Section titled “Before You Start”Make sure:
- your local stack is running
- the web app is available at
http://localhost:5173 - you are using the generated starter project or an equivalent local setup
Step 1: Open The App
Section titled “Step 1: Open The App”Navigate to:
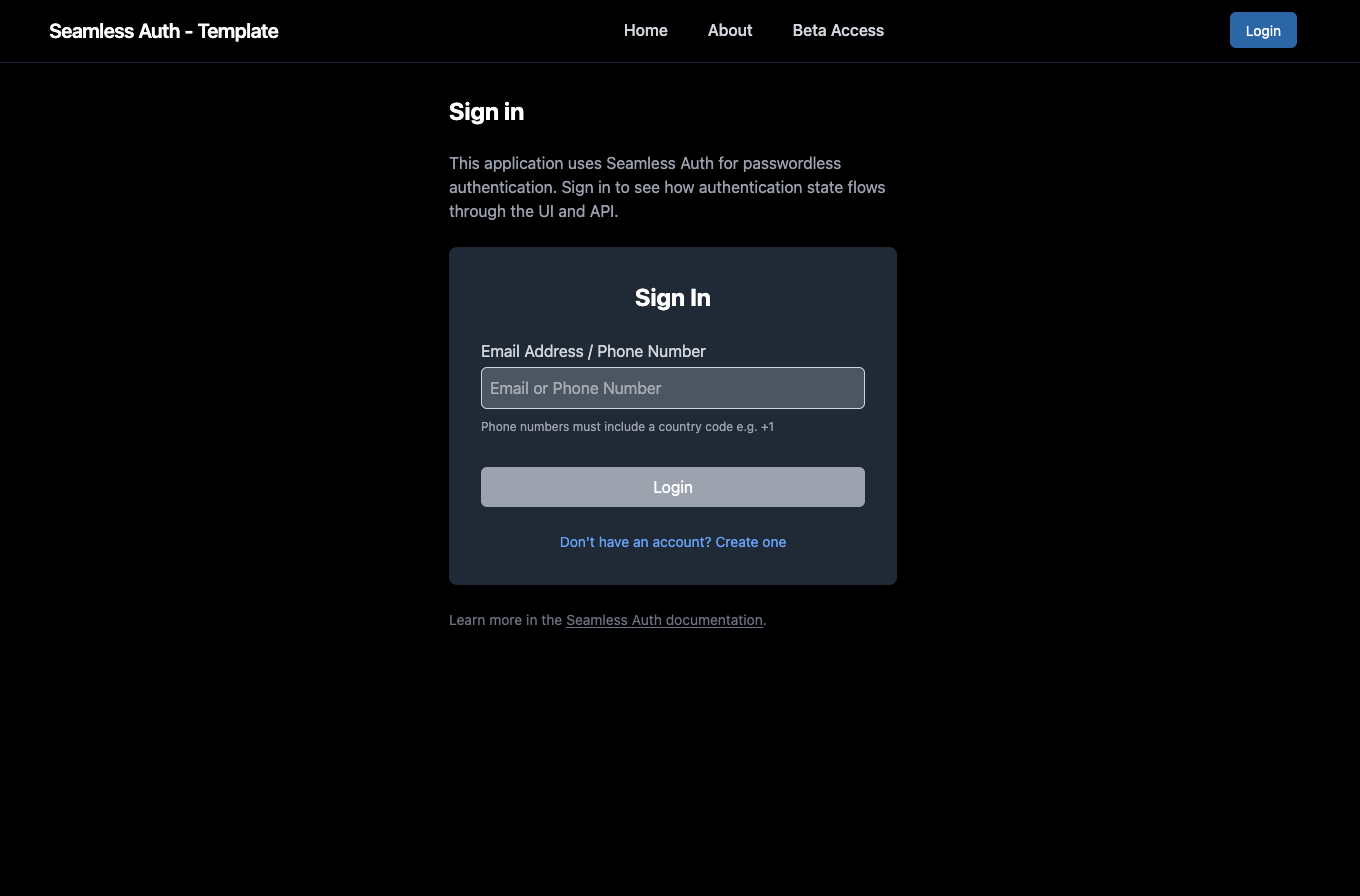
http://localhost:5173You should see the starter UI.
Step 2: Start Registration
Section titled “Step 2: Start Registration”In the starter form:
- enter an email address
- optionally enter a phone number
- submit the flow
Registration starts with just an email. The system detects that the user does not already exist and moves into email verification. (A phone number is optional and can be added and verified later.)
Step 3: Complete Verification
Section titled “Step 3: Complete Verification”Registration sends a one-time code to the email address. In local development:
- OTP values are returned in the dev delivery payload (visible in logs or dev-oriented messaging)
- enter the code to verify the email
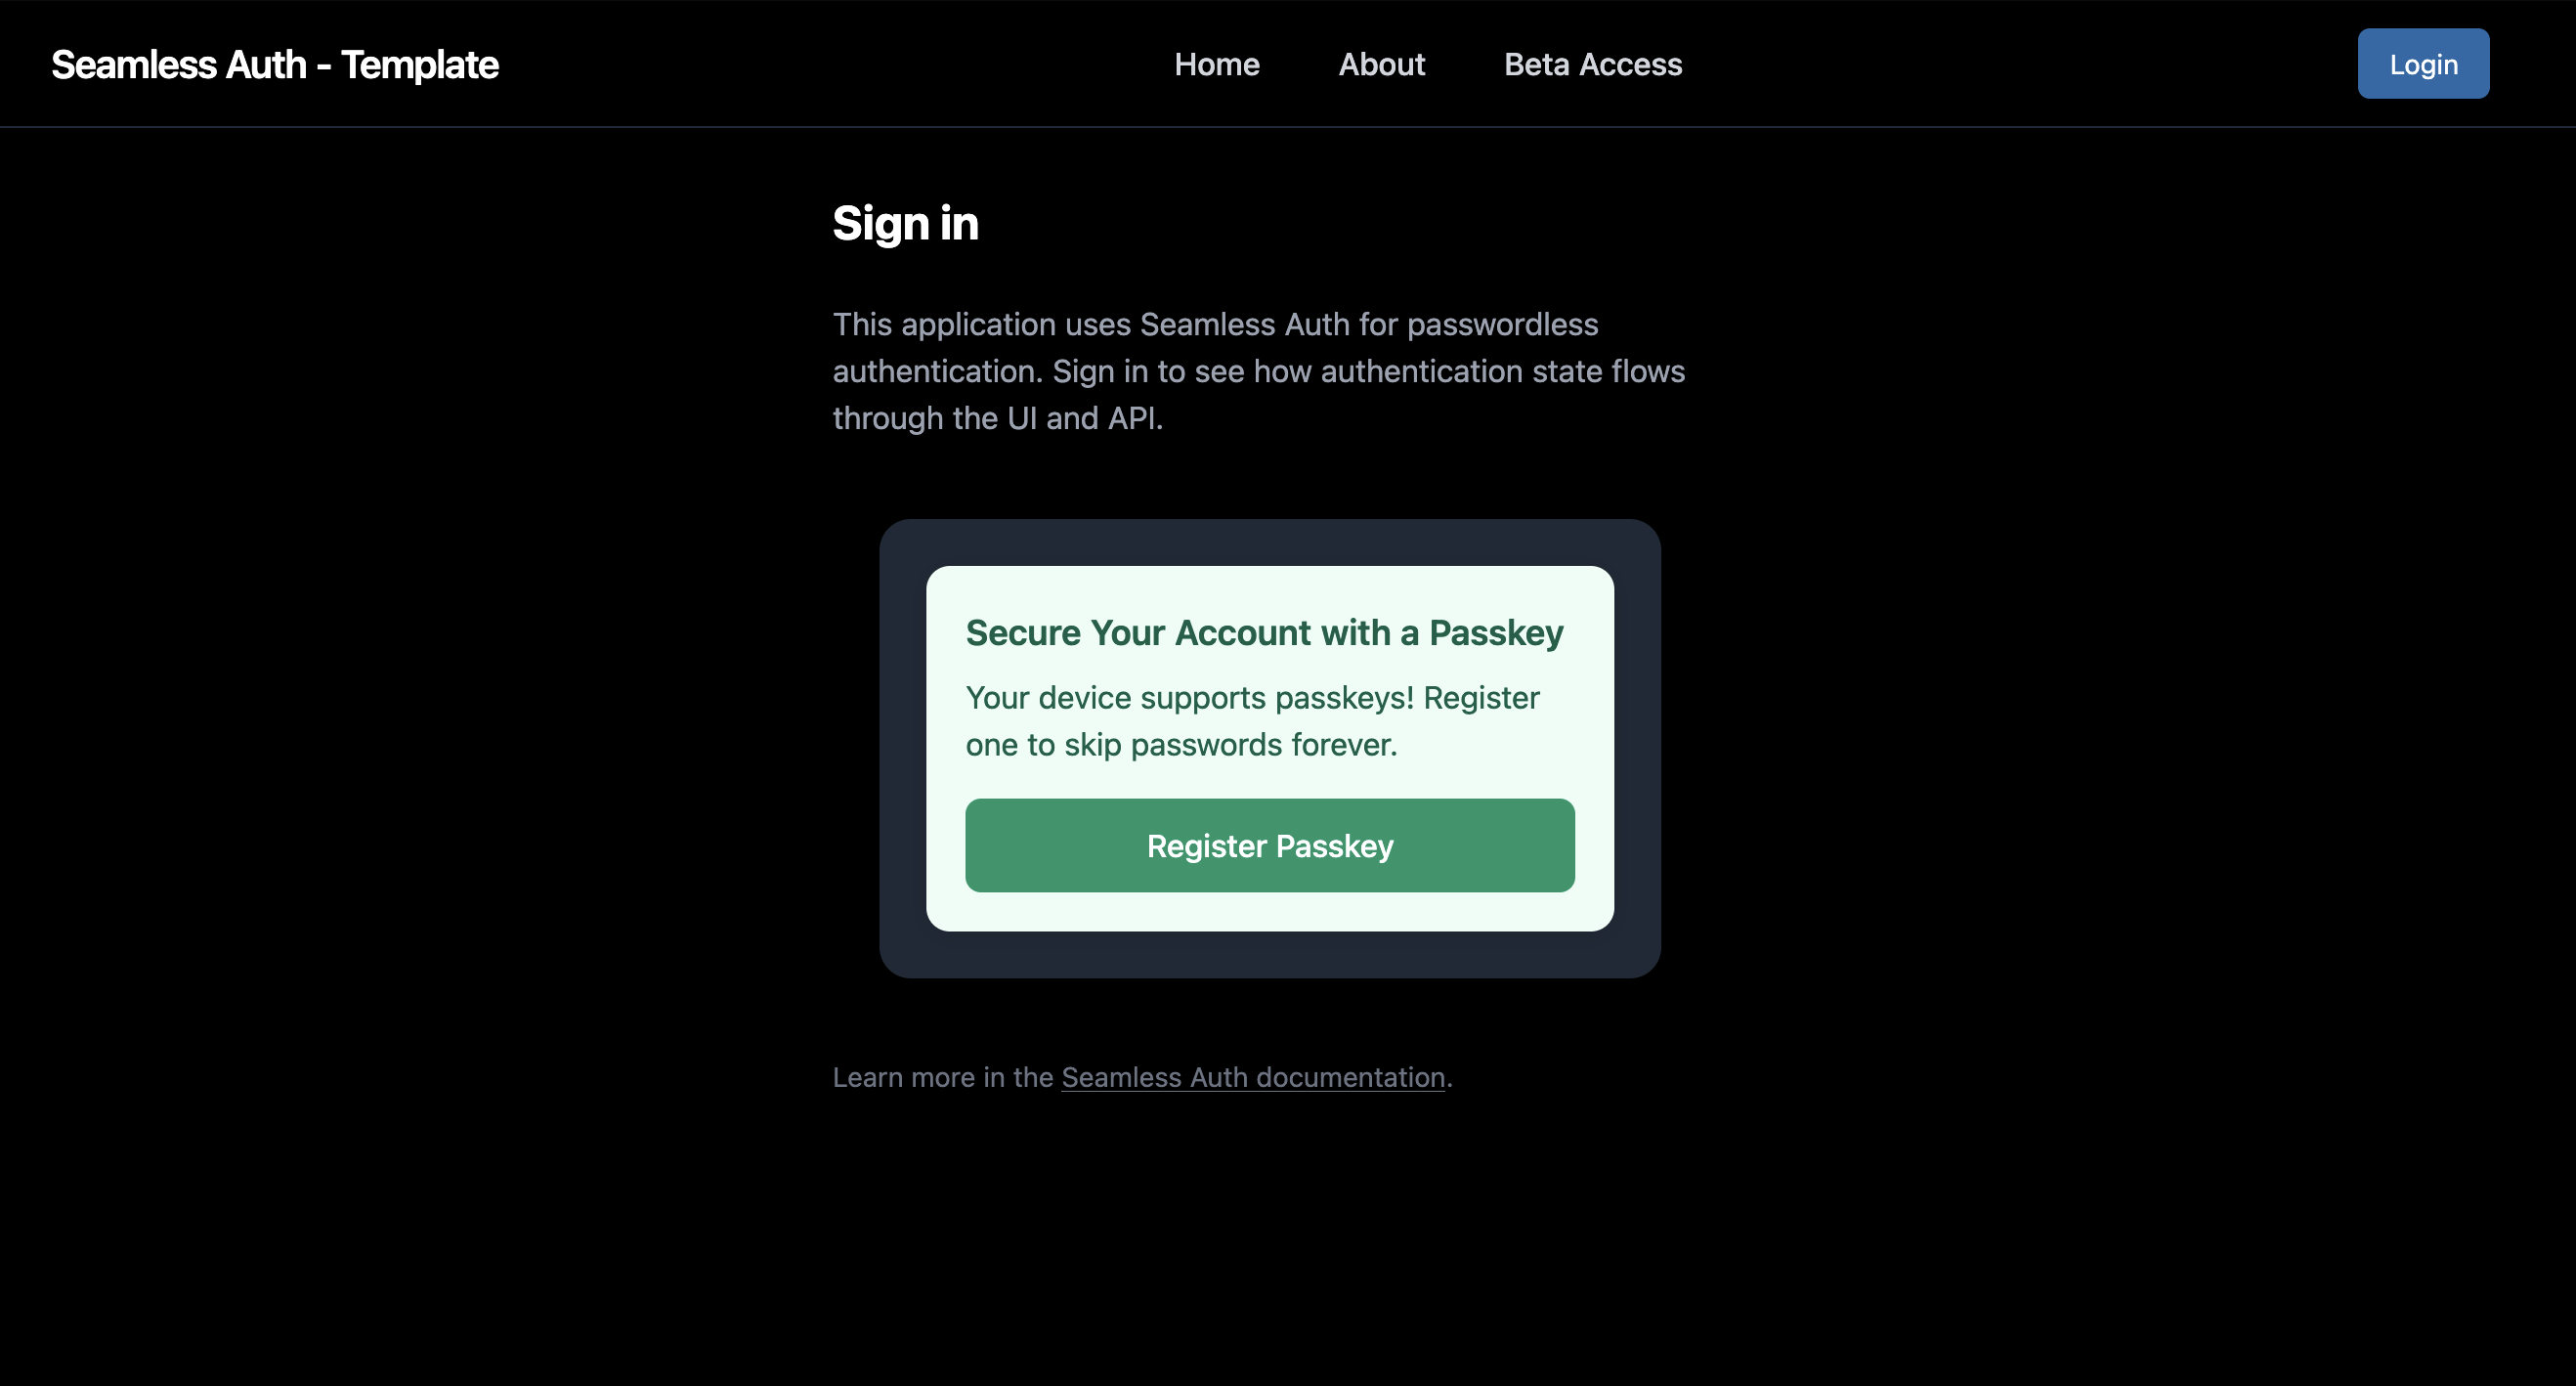
- on a device that supports passkeys, you are then prompted to register one
Once the email code is verified:
- a user record is created
- a session is issued and you are signed in
- passkey registration completes if you enroll one
Step 4: Confirm Authenticated State
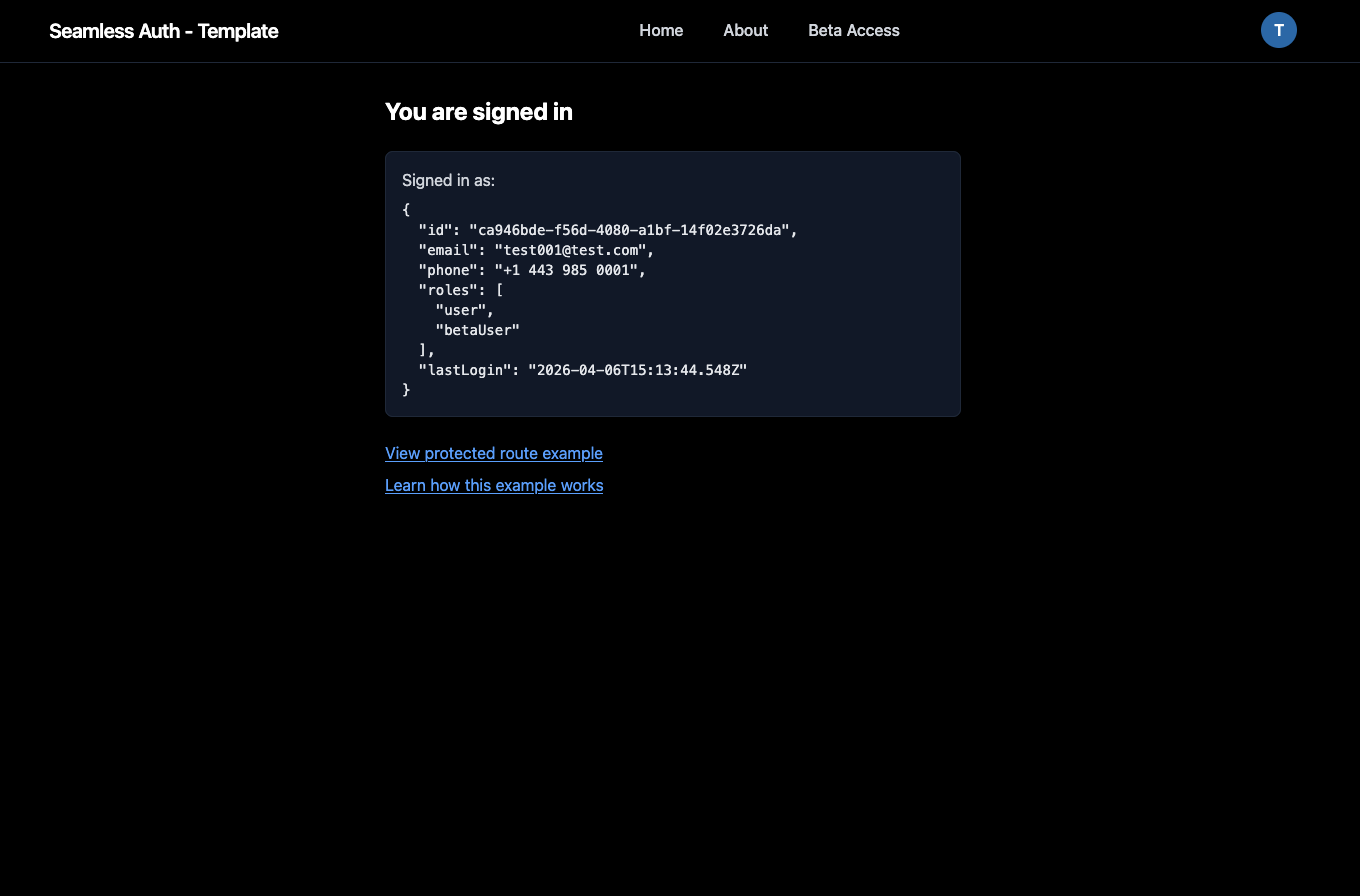
Section titled “Step 4: Confirm Authenticated State”After the flow completes:
- a secure cookie is set
- the frontend auth layer detects the authenticated state
- the UI updates to the signed-in view
What Just Happened
Section titled “What Just Happened”Behind the scenes:
- the frontend initiated the auth flow
- the backend/auth integration layer communicated with the auth server
- verification completed through passwordless steps
- the auth server created the user and session records
- a secure cookie established authenticated state for later requests
If you want the exact route groups involved, see Auth API Routes.
Why This Matters
Section titled “Why This Matters”This first run proves the main local stack is wired correctly:
- frontend to API
- API to auth server
- auth server to database
- session cookie back to the application
Next Step
Section titled “Next Step”→ Continue to Register Your First Admin