What You Just Built
- Web app - API - Auth server - Optional admin dashboard - Local Docker-based infrastructure
This guide walks through the fastest supported way to run Seamless Auth yourself: scaffold a project with the CLI, start the stack locally, and complete the first admin bootstrap flow.
The Seamless Auth CLI is published as seamless-cli and exposes the seamless binary. It
scaffolds a working local project around the auth ecosystem.
Today it is primarily used to:
You can inspect the CLI here:
Before starting, you can inspect available commands:
npx seamless-cli --helpThis will show:
init, check, bootstrap-admin)Run the CLI:
npx seamless-cli init my-appcd my-appYou can also use the project-name shorthand:
npx seamless-cli my-appRunning the CLI with no command prints help.
The CLI will guide you through:
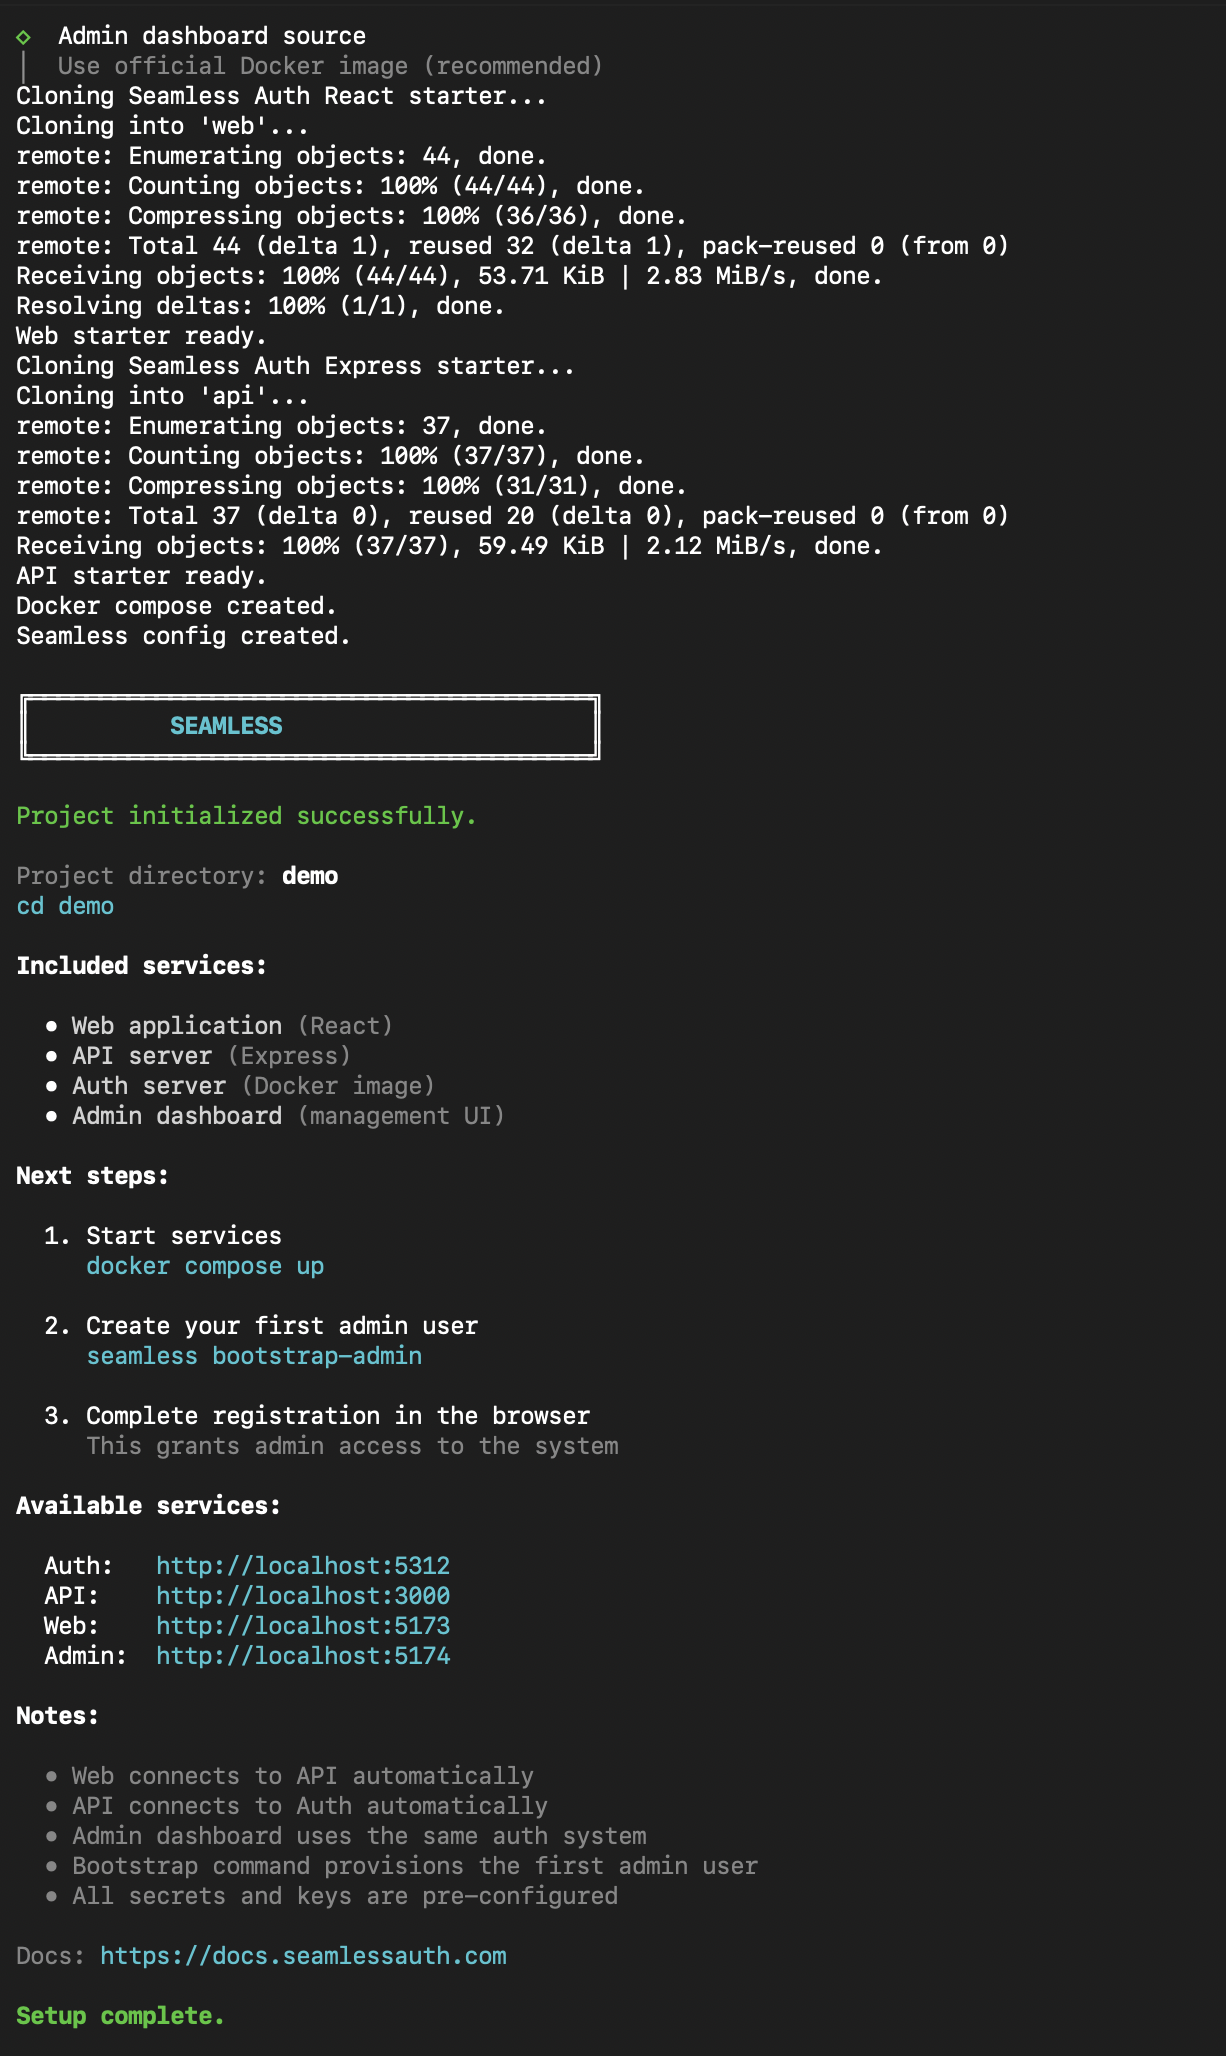
After setup, your project will look like:
my-app/ web/ api/ auth/ # only when local auth mode is selected admin/ # only when admin source mode is selected docker-compose.yml seamless.config.json README.mdThe exact shape depends on the options you selected, but the CLI always wires the generated pieces together for local development.
The CLI generates a Docker-based development environment.
Start services:
docker compose upThis will:
Open:
http://localhost:5173You should see the starter UI with:
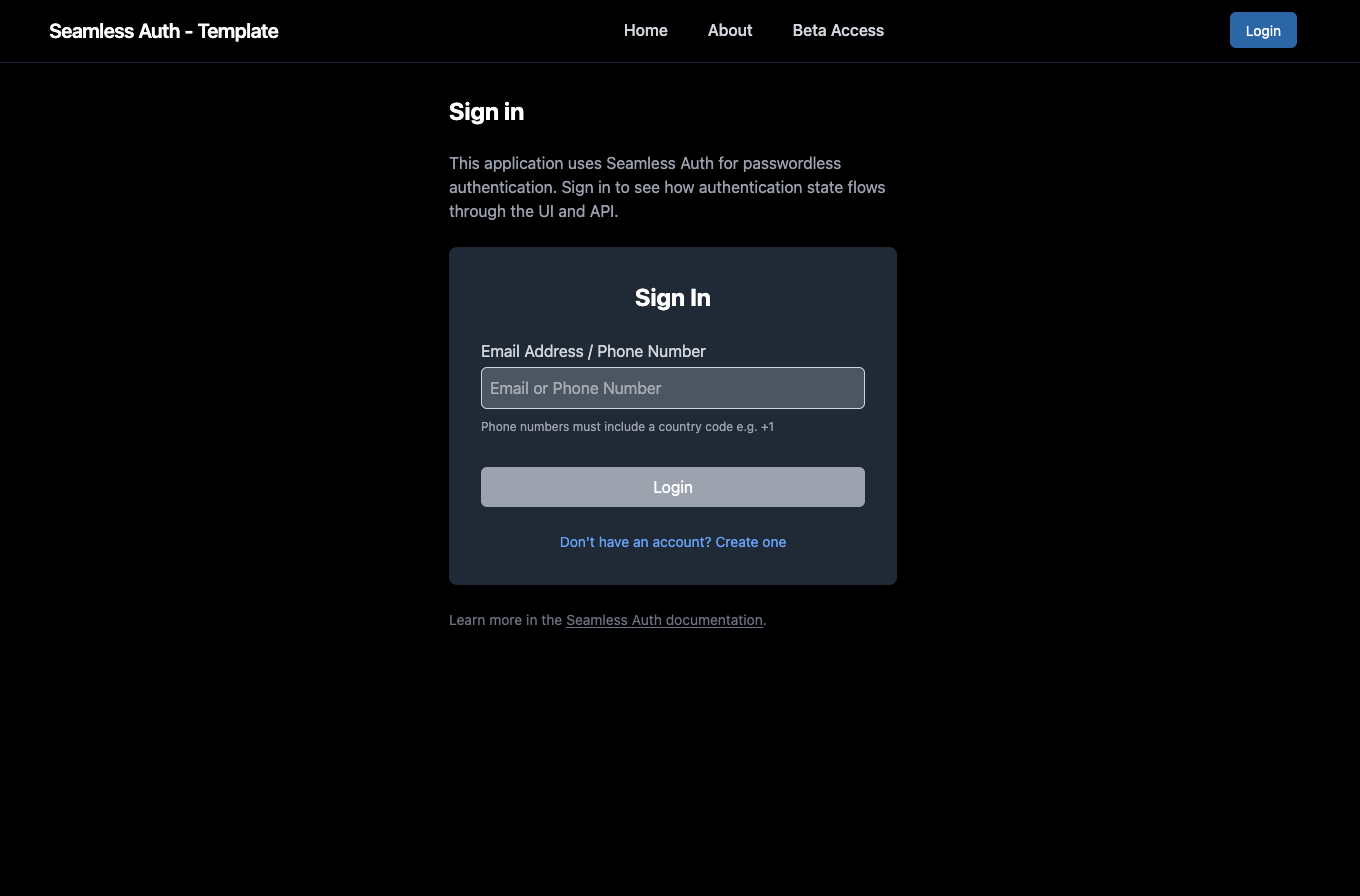
Once the stack is running, create your first admin invite:
npx seamless-cli bootstrap-admin admin@example.comIf the CLI can resolve the bootstrap secret locally, it will use it automatically. Otherwise it will prompt you for the secret.
After the invite is created:
You now have a local stack with:
What You Just Built
Copy this into ChatGPT:
“Help me customize a Seamless Auth project created with seamless-cli. I want to add roles, protect routes, and understand which package does what.”
Continue to Create Your First User.