Create Your First Admin
Create Your First Admin
Section titled “Create Your First Admin”This guide walks through the first-admin bootstrap flow in a local Seamless Auth stack.
The goal is simple: create an initial admin invite, complete the registration flow with that email, and verify access to the admin dashboard.
Before You Start
Section titled “Before You Start”Make sure:
- your local stack is running
- you have already gone through the first-user flow once
- you can access the web app at
http://localhost:5173
Why Bootstrap Exists
Section titled “Why Bootstrap Exists”The first admin flow is intentionally separate from normal role management.
That bootstrap path exists so you can create the initial operator account without manually editing the database.
Step 1: Create The Invite
Section titled “Step 1: Create The Invite”Run:
npx seamless-cli bootstrap-admin admin001@test.comThe CLI will:
- resolve the bootstrap secret from local project files when possible
- call the auth API bootstrap route
- print a registration URL when available
The invited email should match the account you want to become the first admin.
Step 2: Complete Registration
Section titled “Step 2: Complete Registration”Open the generated registration URL and finish the same kind of registration flow you used for your first user.
Use the same email address you passed to bootstrap-admin.
Once registration completes:
- the user is granted the
adminrole - future sessions for that user include admin access
Step 3: Verify The Role
Section titled “Step 3: Verify The Role”After successful registration, the session should include the admin role.
{ "roles": ["admin"]}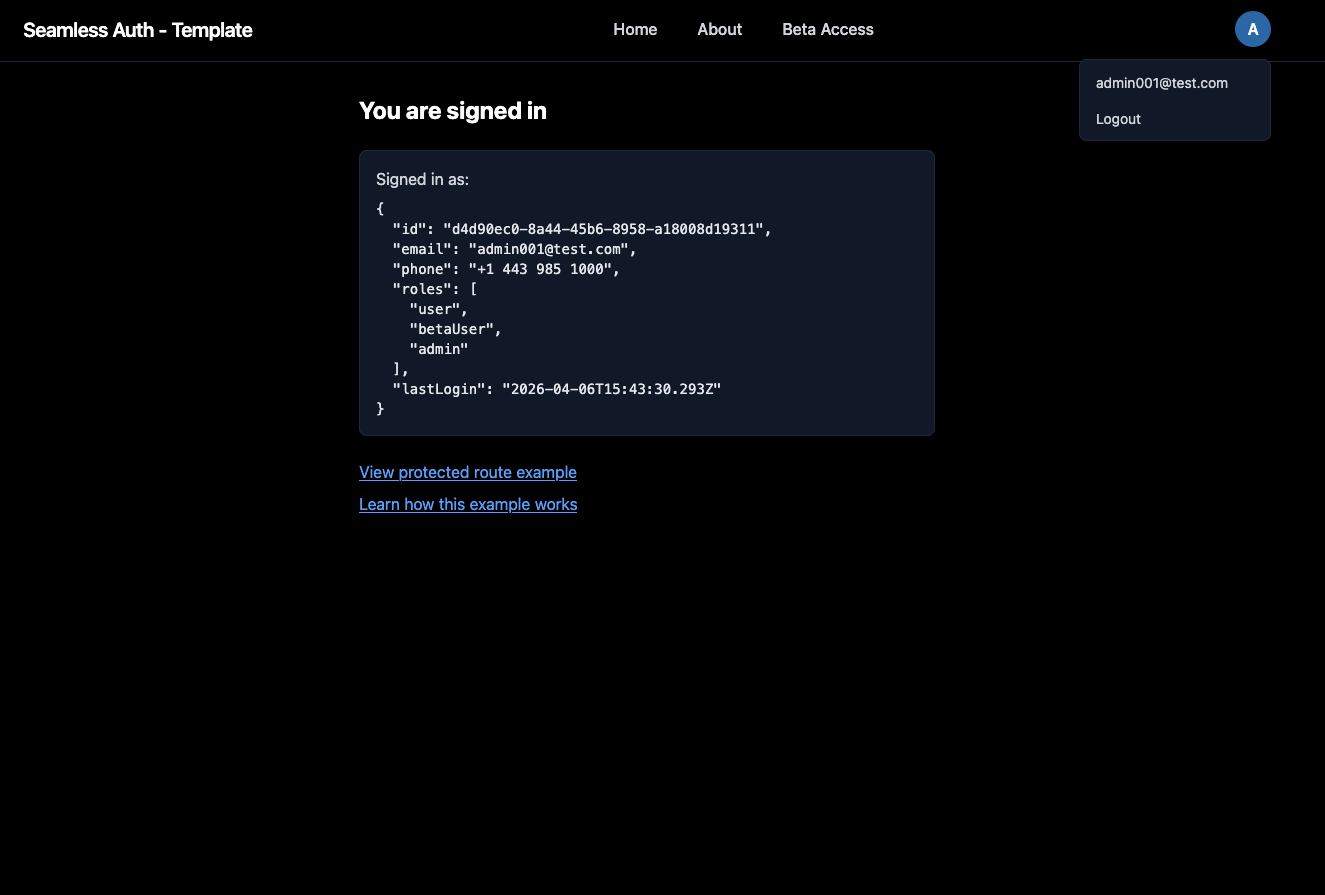
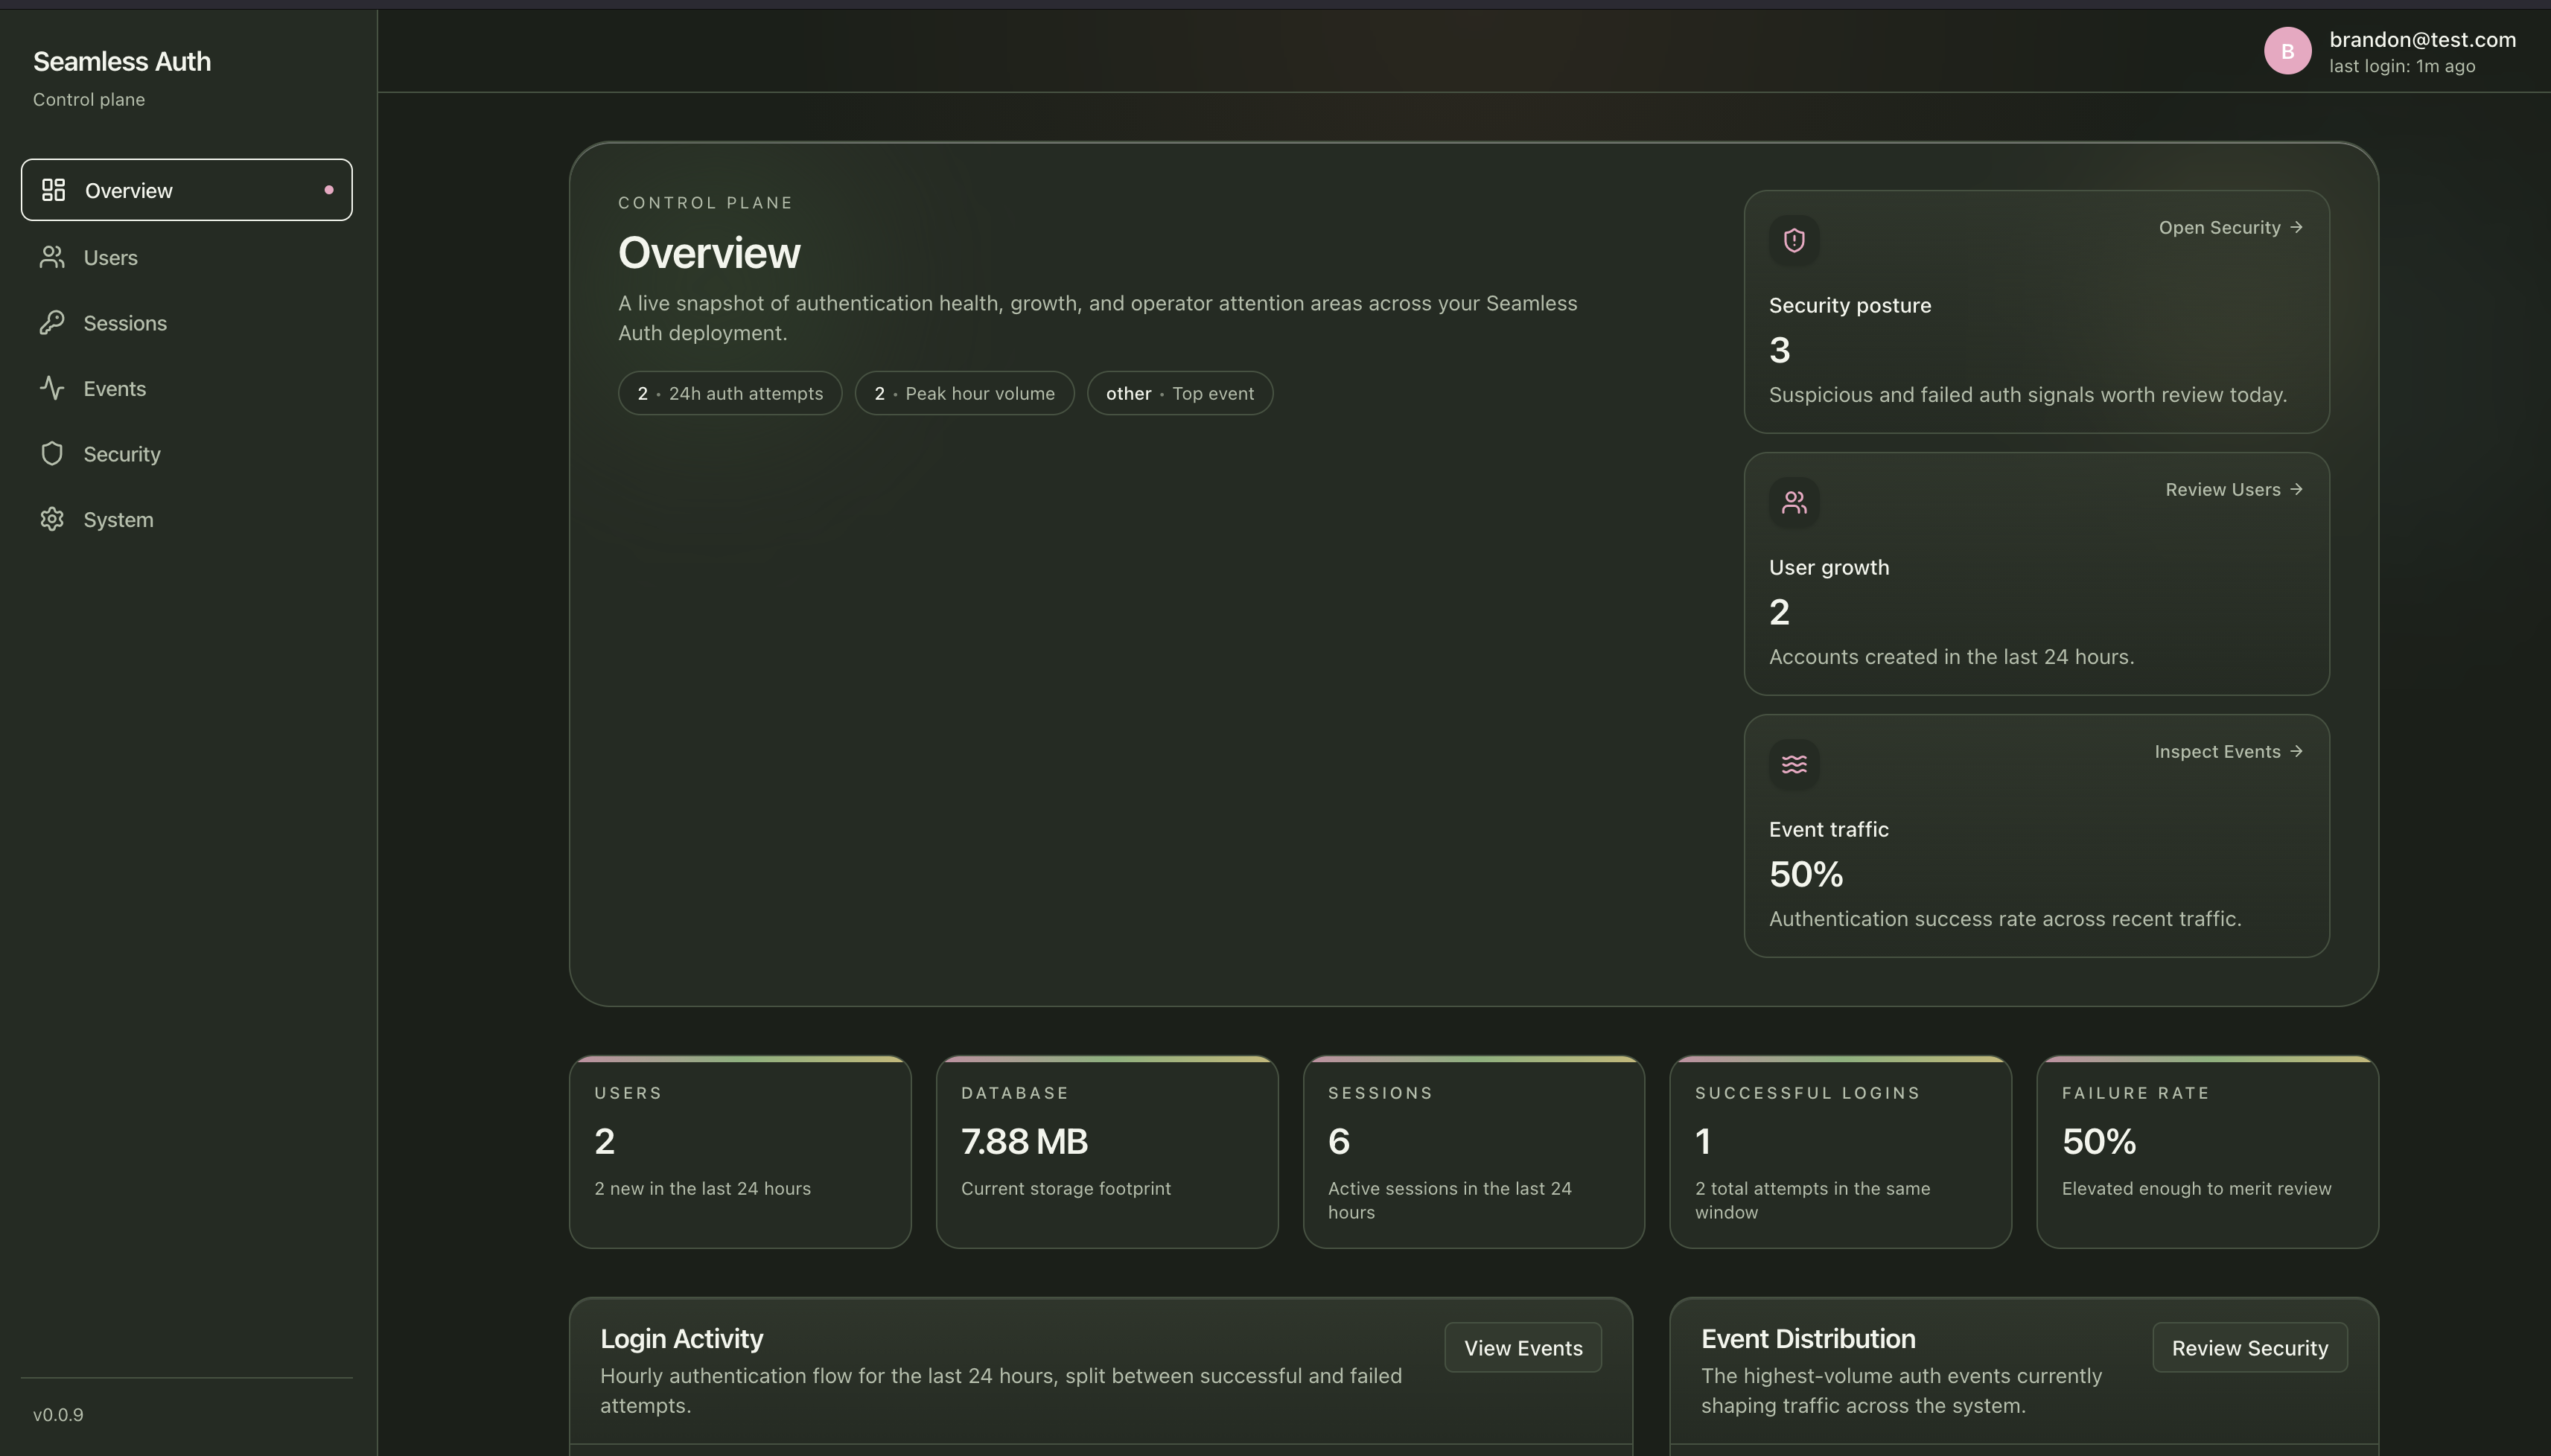
Step 4: Open The Dashboard
Section titled “Step 4: Open The Dashboard”Navigate to:
http://localhost:5174You should be able to reach the admin dashboard.
What Just Happened
Section titled “What Just Happened”- you created the first admin bootstrap invite
- registration completed with the invited email
- the resulting user received the
adminrole - the dashboard became accessible through normal auth state